


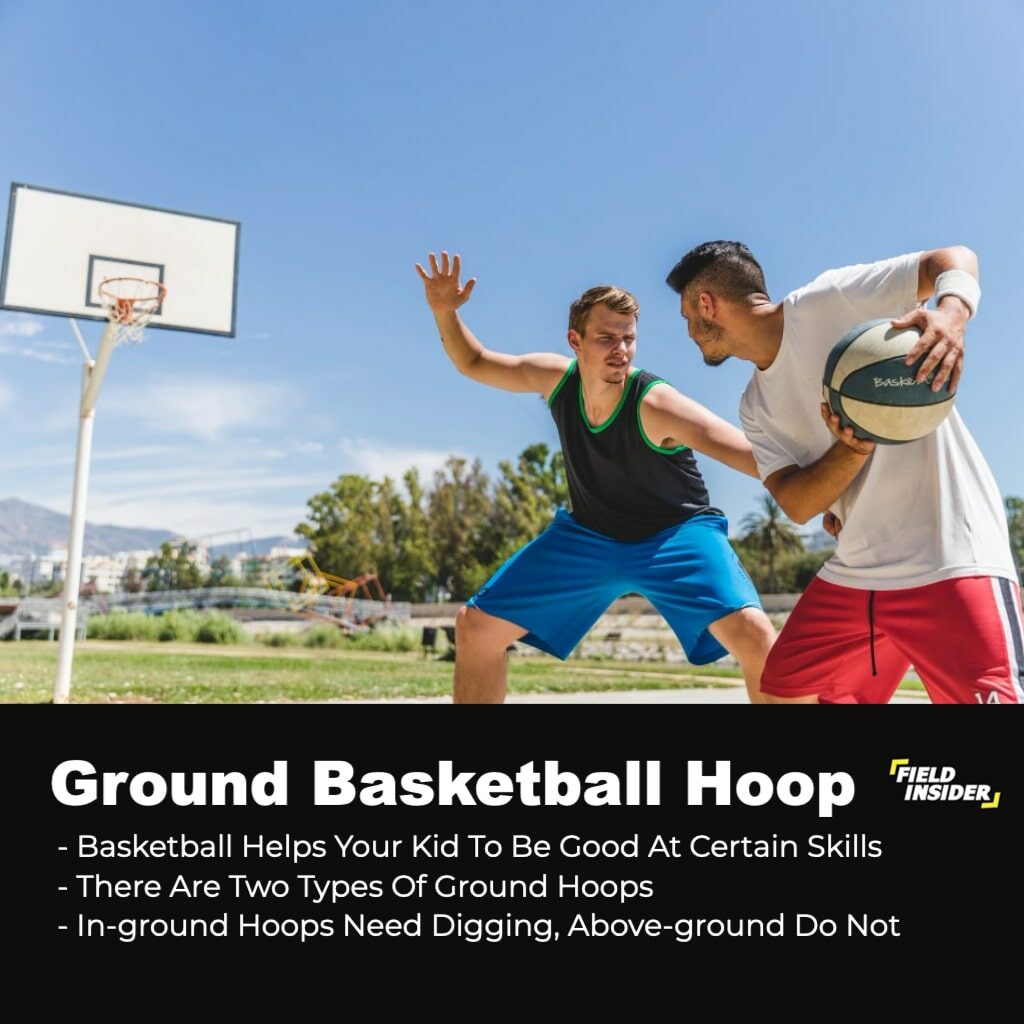
Did you know that ground basketball hoops are a great way to get your kids outside and active? Basketball is a fantastic, low-impact sport that will help your children develop important skills like teamwork, communication, and coordination.
In this blog post, we will show you how to install a ground basketball hoop in your backyard. With step-by-step instructions on the tools needed for installation. We’ll also give you some extra tips for when installing ground basketball hoops like making sure it’s level. Or choosing the right location!
First, there are two basic types of ground hoops: in-ground and above-ground. In-ground hoops require digging a hole and cementing the pole in place. Above-ground hoops on the other hand do not need holes to be dug. But they are usually less stable than their in-ground counterparts.
In-Ground Basketball Hoop
An in-ground basketball hoop is a type of basketball hoop that is designed to be installed directly into the ground. Unlike portable basketball hoops, which are mounted on a base that can be filled with water or sand, in-ground basketball hoops are anchored directly into the ground using a pole that is set in concrete.
In-ground basketball hoops are typically more stable and durable than portable basketball hoops. They are designed to withstand more aggressive play and are less likely to tip over or wobble during gameplay. In-ground basketball hoops also tend to have larger backboards and adjustable height mechanisms, making them ideal for players of all ages and skill levels.
Installing an in-ground basketball hoop can be a bit more involved than setting up a portable basketball hoop, as it requires digging a hole and pouring concrete to secure the pole. However, once installed, an in-ground basketball hoop is a permanent fixture that can provide years of fun and entertainment for players of all ages.
Installing the In-Ground Basketball Hoop
Installing a ground basketball hoop involves several steps that need to be executed with care and precision. The process typically involves digging a hole, setting the pole in concrete, and assembling the backboard and rim. Here’s an in-depth study and analysis of how to install ground basketball hoops:
Step 1: Choose a location
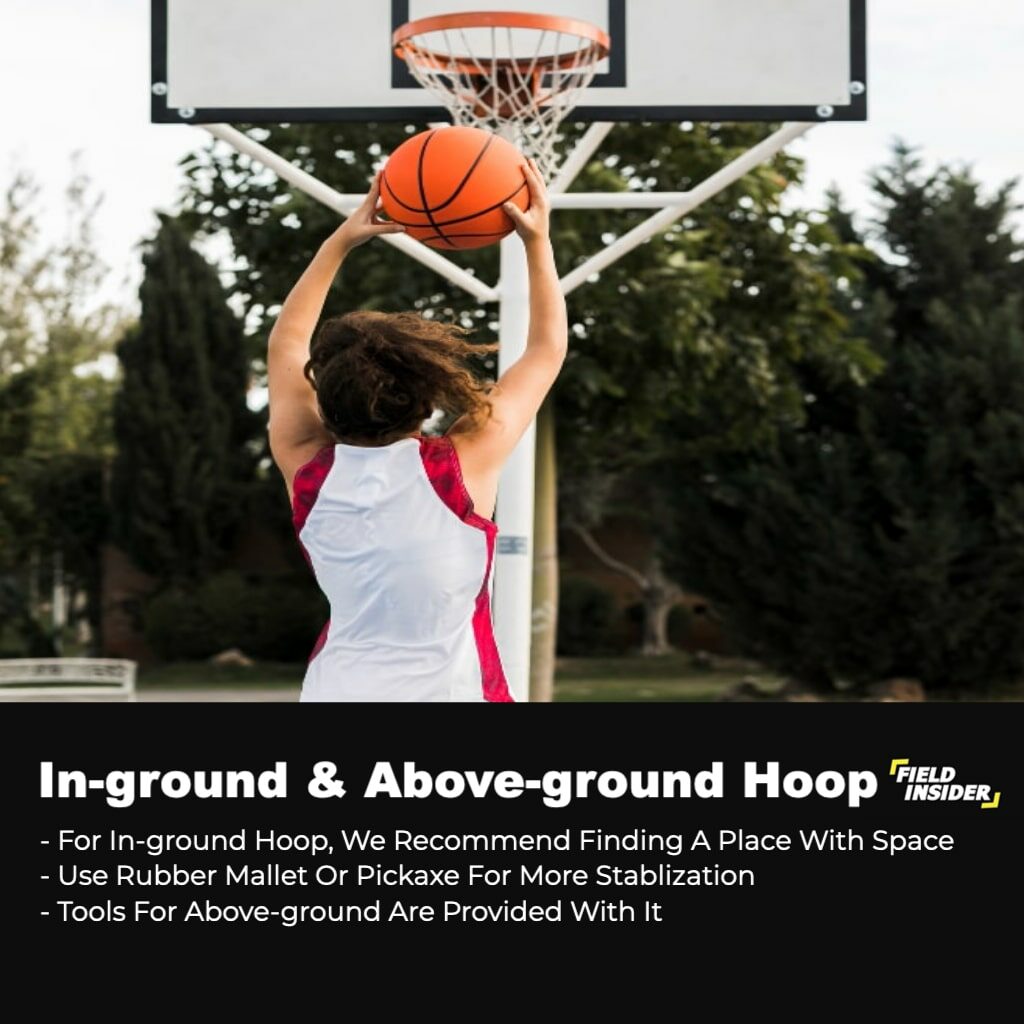
The first step in installing a ground basketball hoop is to choose a location. The ideal location for a basketball hoop is a flat, level area with enough space to accommodate the backboard and the players. It’s important to ensure that there are no overhanging branches or other obstacles that could interfere with gameplay.
Step 2: Dig the hole
Once you’ve chosen the location, the next step is to dig a hole for the pole. The size of the hole will depend on the size of the pole and the depth of the frost line in your area. Typically, the hole should be about 2-3 feet deep and 1-2 feet in diameter.
Step 3: Set the pole
After the hole has been dug, the next step is to set the pole in concrete. This will ensure that the pole is sturdy and secure. Begin by placing the pole in the hole and using a level to ensure that it’s straight. Then, mix concrete according to the manufacturer’s instructions and pour it into the hole around the pole. Use a shovel or trowel to smooth the concrete and ensure that the pole is straight.
Step 4: Let the concrete dry
Once the concrete has been poured, allow it to dry for at least 24 hours. During this time, it’s important to ensure that the pole remains straight and does not shift or move.
Step 5: Assemble the backboard and rim
After the concrete has dried, the next step is to assemble the backboard and rim. This typically involves attaching the backboard to the pole and then attaching the rim to the backboard. Follow the manufacturer’s instructions carefully to ensure that the backboard and rim are installed correctly.
Step 6: Adjust the height and level the backboard
Once the backboard and rim have been installed, it’s important to adjust the height and level the backboard. Most basketball hoops come with adjustable height mechanisms that allow you to raise or lower the rim to the appropriate height. Use a level to ensure that the backboard is level and adjust as needed.
Step 7: Test the hoop
Finally, test the hoop to ensure that it’s working properly. Shoot a few baskets to ensure that the rim is secure and that the backboard is stable. If there are any issues, make adjustments as needed.
In conclusion, installing a ground basketball hoop requires careful planning and execution. By following the steps outlined above, you can ensure that your basketball hoop is installed correctly and provides years of enjoyment for you and your family.
Above-Ground Basketball Hoops
Tools for this type of basketball hoop are usually provided with the ground basketball hoop. You will also need to make sure that you have someone on hand who can help carry and lift heavy items like a ground basketball hoop.
An above ground basketball hoop is a type of basketball hoop that is designed to be set up on a surface above the ground, such as a driveway, patio, or backyard. Unlike in-ground basketball hoops, which are anchored directly into the ground using a pole that is set in concrete, above ground basketball hoops are mounted on a base or stand that sits on top of the ground.
Above ground basketball hoops are typically more portable and easier to set up than in-ground basketball hoops. They can be moved around as needed and do not require any permanent installation, making them a popular choice for people who want to be able to play basketball in different locations or who do not want to commit to a permanent fixture in their yard.
However, above ground basketball hoops can also be less stable and durable than in-ground basketball hoops. They may wobble or tip over during gameplay, especially if they are not properly weighted or secured. Additionally, above ground basketball hoops may have smaller backboards and limited adjustability, which can make them less suitable for serious players or those who want to practice specific skills.
Installing the Above-Ground Basketball Hoop
Installing an above ground basketball hoop is generally a straightforward process that can be completed in a few hours with the right tools and equipment. Here’s an in-depth study and analysis of how to install an above ground basketball hoop:
Step 1: Choose a location
The first step in installing an above ground basketball hoop is to choose a suitable location. Look for a flat, level surface with plenty of room for players to move around. It’s also important to consider factors such as overhead obstacles, nearby trees or structures, and the amount of space available for the base.
Step 2: Assemble the base
Once you have chosen a location, the next step is to assemble the base. Most above ground basketball hoops come with a base that is filled with sand or water to provide stability. Follow the manufacturer’s instructions carefully to ensure that the base is assembled correctly.
Step 3: Attach the pole and backboard
After the base has been assembled, the next step is to attach the pole and backboard. This typically involves inserting the pole into the base and then attaching the backboard to the pole using bolts or screws. Follow the manufacturer’s instructions carefully to ensure that the pole and backboard are attached securely.
Step 4: Attach the rim
Once the backboard is attached, the next step is to attach the rim. This typically involves attaching the rim to the backboard using bolts or screws. Follow the manufacturer’s instructions carefully to ensure that the rim is attached securely.
Step 5: Adjust the height and level the backboard
Most above ground basketball hoops come with adjustable height mechanisms that allow you to raise or lower the rim to the appropriate height. Use a level to ensure that the backboard is level and adjust as needed.
Step 6: Test the hoop
Finally, test the hoop to ensure that it’s working properly. Shoot a few baskets to ensure that the rim is secure and that the backboard is stable. If there are any issues, make adjustments as needed.
Pole Sleeve Installation
This part usually has an adjustable height mechanism that most commonly connects with screws on either end. It’s important to make sure this is screwed in tightly because if it isn’t then the hoop might be loose or unstable when you start shooting hoops!
Post Base Installation
Once your ground basketball hoop pole sleeve has been tightened securely, go ahead and place the base of your ground hoop over top before screwing it onto the bottom using bolts (usually five) that are included with most portable ground hoops.
Don’t worry about having them too tight though since these bolts don’t need to be super secure for everything else to stay put either!
After attaching your post base just slip on one half of a net through each side before pulling it taunt around both sides so they meet in front where all three pieces can finally be connected using a ground net clip.
Extra Tips for Installing Ground Basketball Hoops
- Be careful when you’re digging so as not to puncture any existing plumbing or electrical wiring that may be present under your new ground basketball hoop installation site!
- If you can install a ground basketball hoop where there are already trees then we recommend using one of our aboveground options instead, but only if necessary!
- Shake off excess water after wetting down your newly poured concrete ground with a garden hose before getting started with installing an above-ground ground basketball hoop because it can make the concrete overly-sudsy which creates a potentially hazardous slip hazard.
What Type of Ground Basketball Hoop Should I Get?
In-Ground Basketball Hoops | Pros & Cons
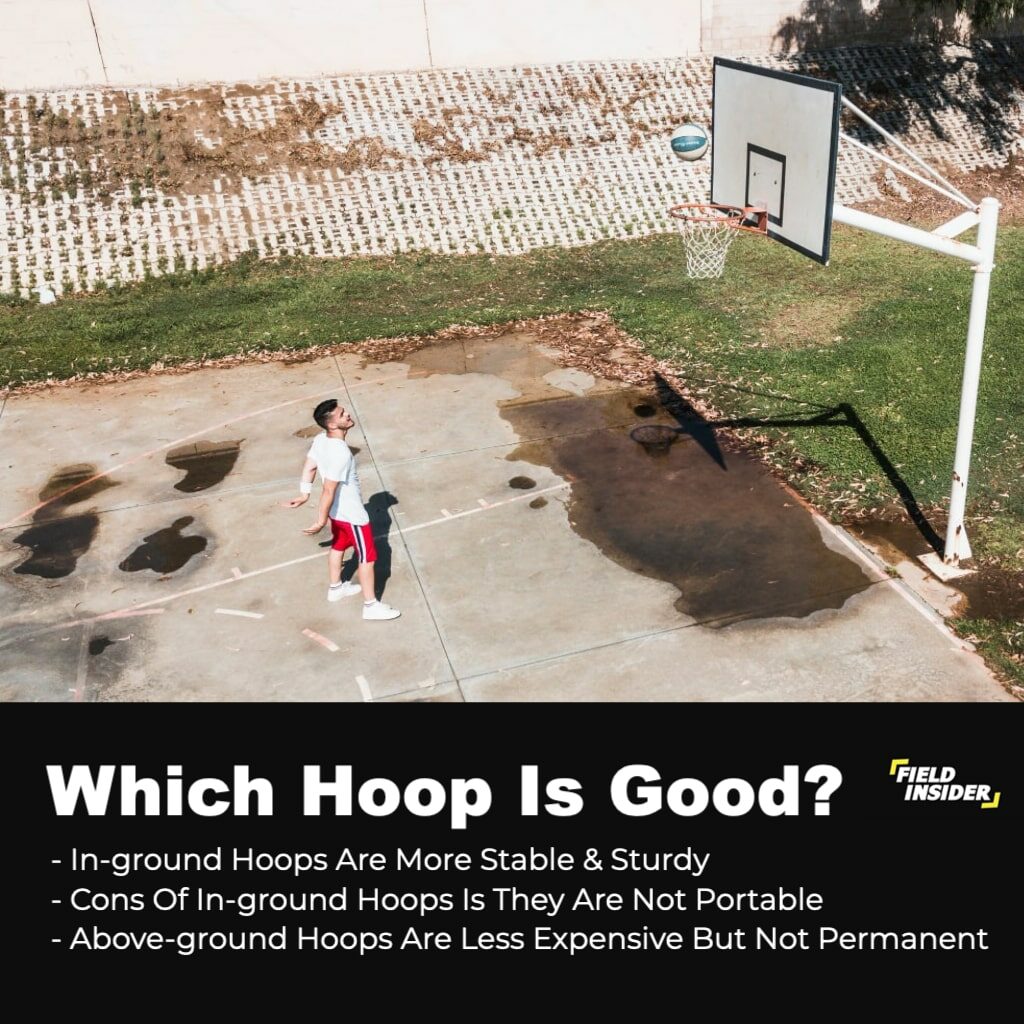
Such hoops are usually the most expensive of both options, but they also offer some distinct advantages as well. In-ground basketball hoops tend to be a lot more stable and sturdy. Since they’re grounded into concrete which is something that can’t always be said for other types of ground basketball hoops!
If you’ve got the space on your property then going with an in-ground ground hoop may make sense. Because it allows you to set up a full-court anywhere there’s enough room available.
They aren’t portable though so if you plan on installing one at home. Just keep this in mind before making any final decisions about getting an above-ground vs in-ground hoop instead!
Above-Ground Basketball Hoops | Pros & Cons
Above-ground basketball hoops are generally less expensive than ground hoops. But they’re also the least stable and sturdy out of both options. Since there’s no direct ground attachment.
Finally, above-ground basketball hoops are great. Because unlike in-ground models they aren’t permanently installed. So that makes them much easier to use when renting a gymnasium space at another location temporarily as well.
If this is something that you plan on doing often then an above-ground hoop will serve just fine. Though keep in mind that most rental facilities won’t allow any alterations whatsoever. Including installation of permanent attachments like ground net clips.
Conclusion
And that’s it! We hope this blog post helped provide you with the necessary information on how to install your ground basketball hoop and we also hope that it helps prevent any unwanted injuries during the process as well.
If you’re still having trouble reaching certain areas of installation or if there are any other parts of ground hoops where you feel like additional instructions may be needed, please don’t hesitate to consult us. Thanks again guys and good luck with your new ground hoop installs!
Be sure to also check out all of our basketball-related articles here on our blog including other step-by-step guides as well.


